
本博客日IP超过2000,PV 3000 左右,急需赞助商。
极客时间所有课程通过我的二维码购买后返现24元微信红包,请加博主新的微信号:xttblog2,之前的微信号好友位已满,备注:返现
受密码保护的文章请关注“业余草”公众号,回复关键字“0”获得密码
所有面试题(java、前端、数据库、springboot等)一网打尽,请关注文末小程序

腾讯云】1核2G5M轻量应用服务器50元首年,高性价比,助您轻松上云
最近有一位新同事在研究第三方登录功能,这个功能其实也很简单,业界也有著名的开源整合方案。我这里就说一下,SpringBoot 集成 justauth 整合 github 第三方登录开发过程中遇到的一些问题和大家分享一下!
整合过程很简单,第一步改造你的 pom.xml。
<properties>
<project.build.sourceEncoding>UTF-8</project.build.sourceEncoding>
<project.reporting.outputEncoding>UTF-8</project.reporting.outputEncoding>
<java.version>1.8</java.version>
</properties>
<dependencies>
<dependency>
<groupId>com.xkcoding.justauth</groupId>
<artifactId>justauth-spring-boot-starter</artifactId>
<version>1.3.2</version>
</dependency>
</dependencies>
<build>
<plugins>
<plugin>
<groupId>org.springframework.boot</groupId>
<artifactId>spring-boot-maven-plugin</artifactId>
</plugin>
</plugins>
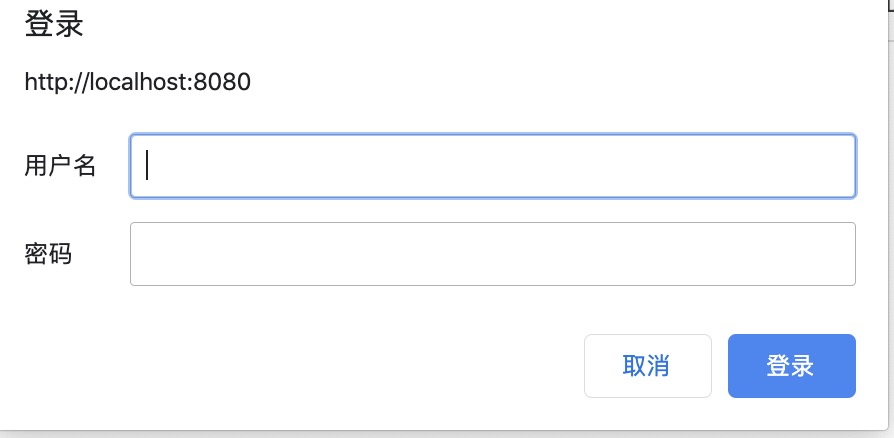
</build>这里要注意,不要引入 Spring Security,因为引入 Security 后,无论你怎么登录,都还是会弹出 Security 的登录对话框。
第二步编写一个回调地址。
@Slf4j
@RestController
@RequestMapping("/oauth")
public class XttblogController {
    @Autowired
    private AuthRequestFactory factory;
    @GetMapping
    public List<String> list() {
        return factory.oauthList();
    }
    @GetMapping("/login/{type}")
    public void login(@PathVariable String type,
        HttpServletResponse response) throws IOException {
        AuthRequest authRequest = factory.get(type);
        response.sendRedirect(authRequest.authorize(AuthStateUtils.createState()));
    }
    @RequestMapping("/callback/{type}")
    public AuthResponse login(@PathVariable String type, AuthCallback callback) {
        AuthRequest authRequest = factory.get(type);
        AuthResponse response = authRequest.login(callback);
        log.info("【response】= {}", JSONUtil.toJsonStr(response));
        return response;
    }
}
第三步,访问 https://github.com/settings/developers,创建第三方应用。
在应用管理页面,选择 OAuth App,然后点击右上方的 New OAuth App 按钮进入新建应用页面。
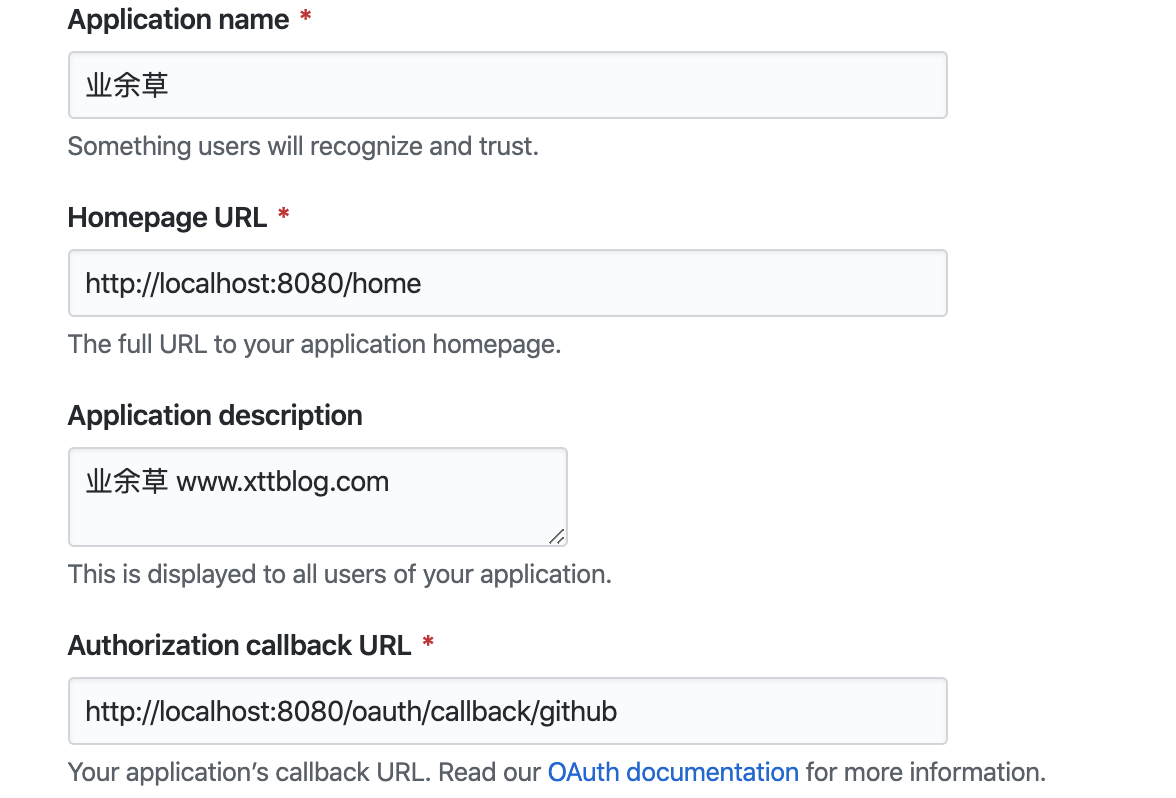
配置完成后,你会获得一个 Client ID:7bbXXXX4d2 和 Client Secret:8247bXXXX5bfe1。
第四步,在 application.yml 中配置一下内容。
justauth:
  enabled: true
  type:
    github:
      client-id: 7bb1bXXXX824d2
      client-secret: 8247741acdXXXXb50841b5bfe1
      redirect-uri: http://localhost:8080/oauth/callback/github
  cache:
    type: default

spring:
  session:
    store-type: none
大功告成之后,启动 SpringBoot 程序,在浏览器里输入:http://localhost:8080/oauth/login/github,就会跳转到 github 的登录授权页面(如果你已经登录,则直接跳转到授权页面;如果你没有登录,则 github 会提示你进行登录)。
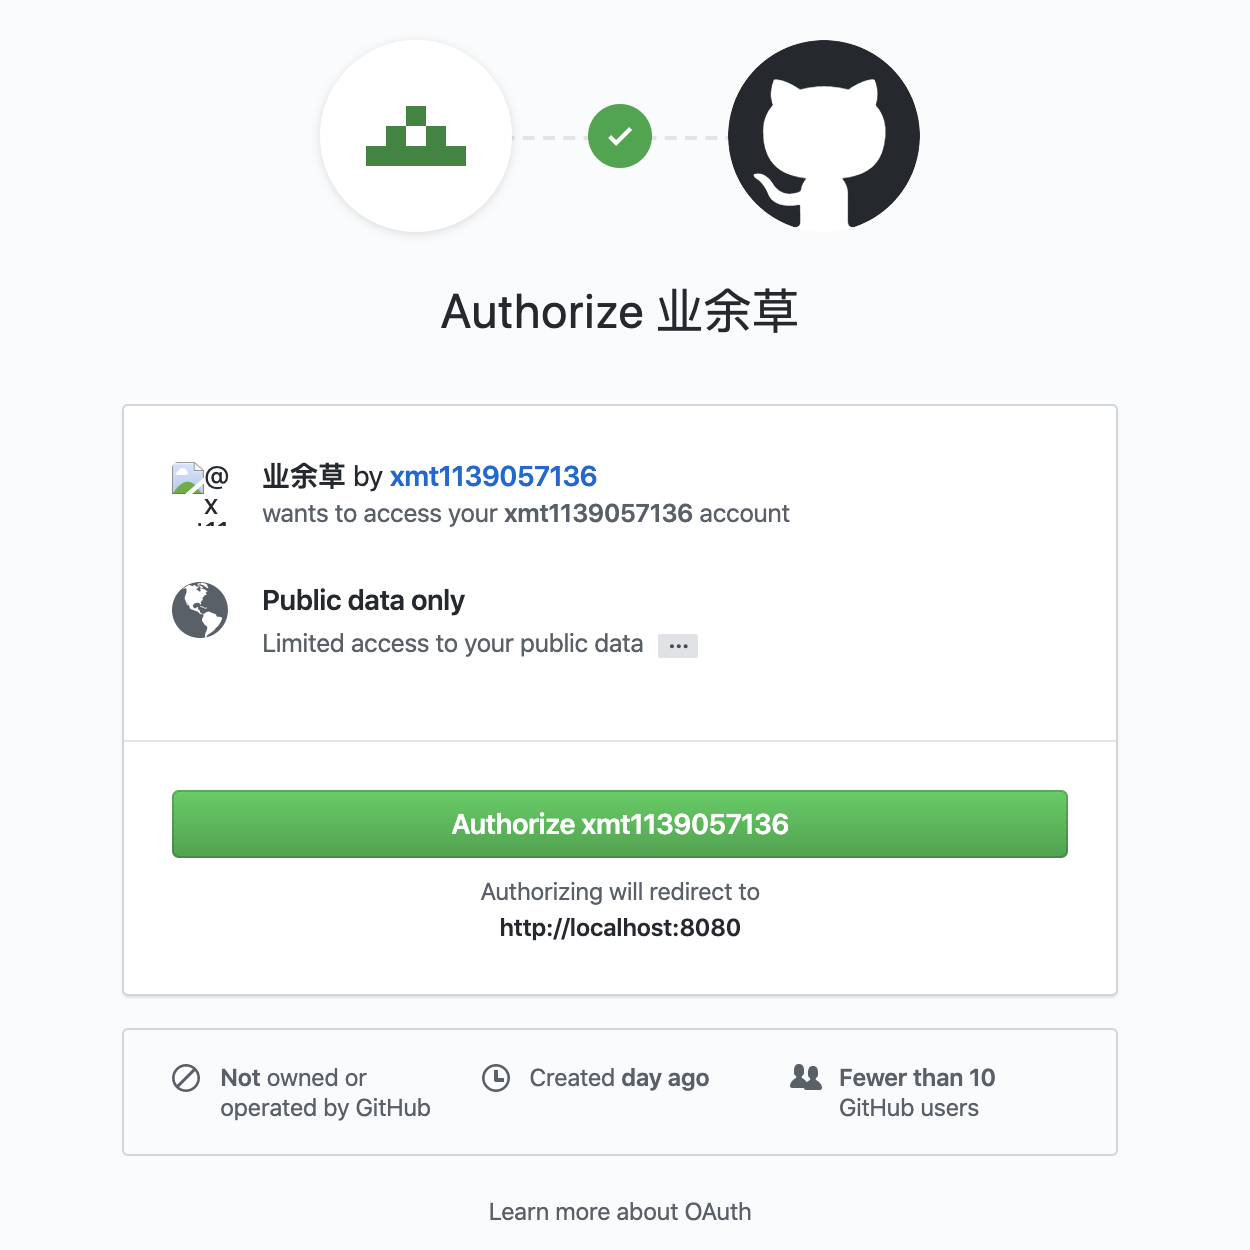
点击确定授权后,如果你收到 code = 5009,Illegal state [GITHUB] 的信息。则说明你的状态异常了,有可能是你停在授权的页面时间太久了,你重新刷新,重新授权即可。
以上,需要源码的或遇到困难的请加我微信号。

最后,欢迎关注我的个人微信公众号:业余草(yyucao)!可加作者微信号:xttblog2。备注:“1”,添加博主微信拉你进微信群。备注错误不会同意好友申请。再次感谢您的关注!后续有精彩内容会第一时间发给您!原创文章投稿请发送至532009913@qq.com邮箱。商务合作也可添加作者微信进行联系!
本文原文出处:业余草: » SpringBoot 集成 justauth 整合 github 第三方登录